Chocolate Souffle – Easy Foolproof Method (video)
This decadent chocolate souffle is dark and intense in flavor, yet light and silky in texture. Follow my easy step-by-step process to master how to make a chocolate souffle like a French pastry chef.
Why this recipe is so great:
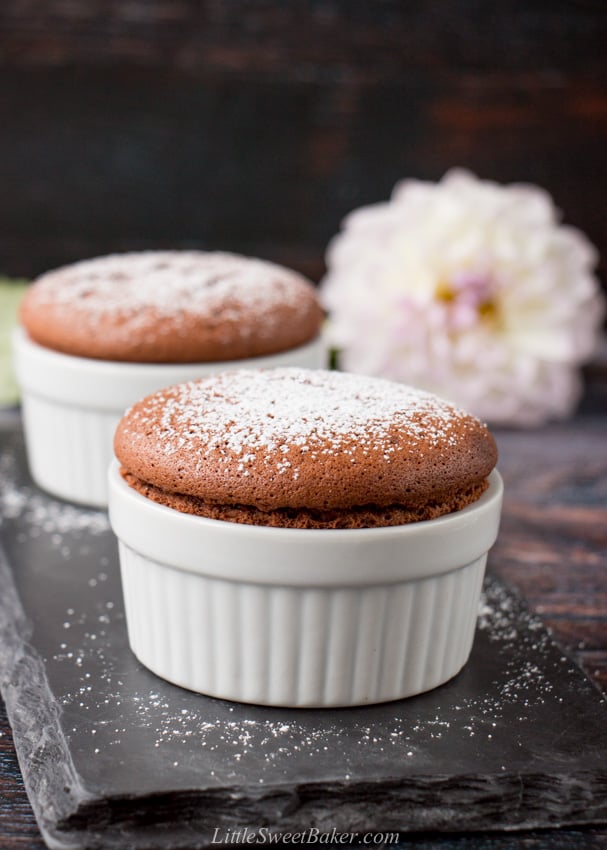
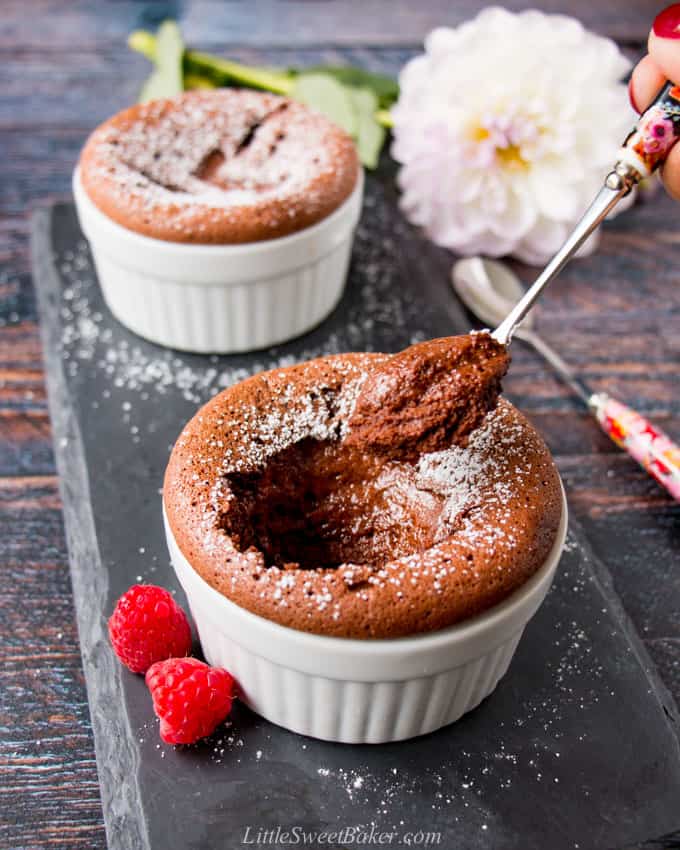
This luxurious chocolate souffle is rich and extremely chocolatey. It’s not overly sweet, just sweet enough to balance the bold chocolate flavor. There are three layers to the texture of this souffle which makes it so incredible. The thin top layer is crisp and crackly. When you first spoon into this dessert there is a light crack that will remind you of a creme brulee. Then you reach into the center where you’ll find a thick molten chocolate sauce similar to a lava cake. The bottom layer is light and airy like a chocolate mousse. All the components just melt in your mouth with a smooth velvety finish. Souffles have a reputation for being difficult and tricky to make, but they’re actually quite easy once you understand the process.
For this recipe, all you need is chocolate, butter, sugar, eggs, vanilla, cream of tartar (or white vinegar) and salt – just seven basic ingredients. Here are some reviews:
“I haven’t tried making souffle since my last failed attempt, but after seeing your recipe I thought I would give it another try. It was a HUGE SUCCESS!!! Beautiful high rise and tasted amazing – thank you!” – Joanne
“I made this for dessert for Father’s Day. It was so easy and DELICIOUS! We all enjoyed it. I will definitely make it again. Thank you!!” – Nancy
How to make chocolate souffle:
Please note that there is a how-to video and complete recipe card further below.
Step 2 Preheat The Oven – Preheat your oven to 400F and position a rack on the lowest rung. This allows for the souffle to cook from the bottom and rise up a bit more. This also prevents the top from over-browning before it’s done. 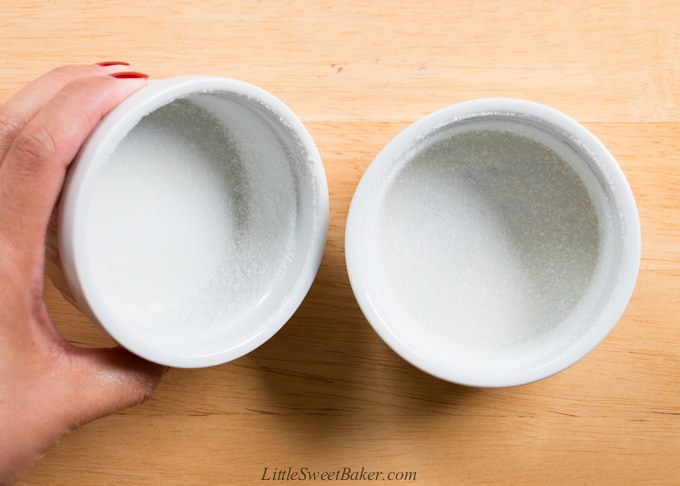
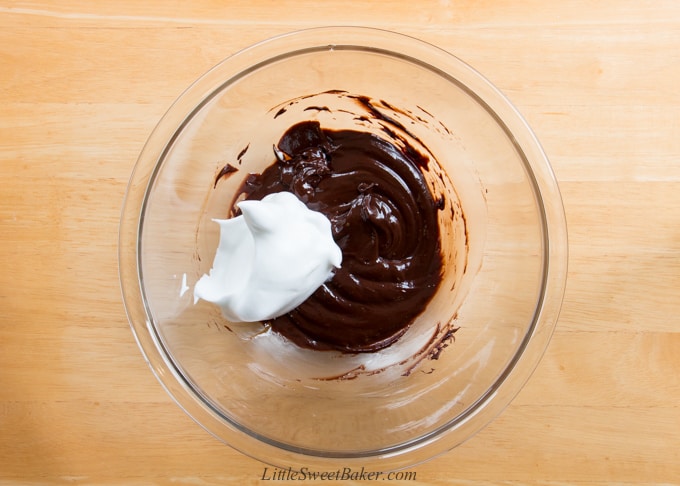
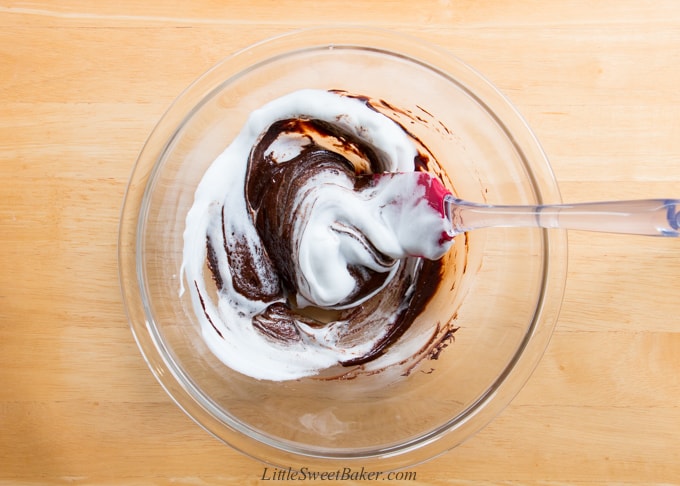
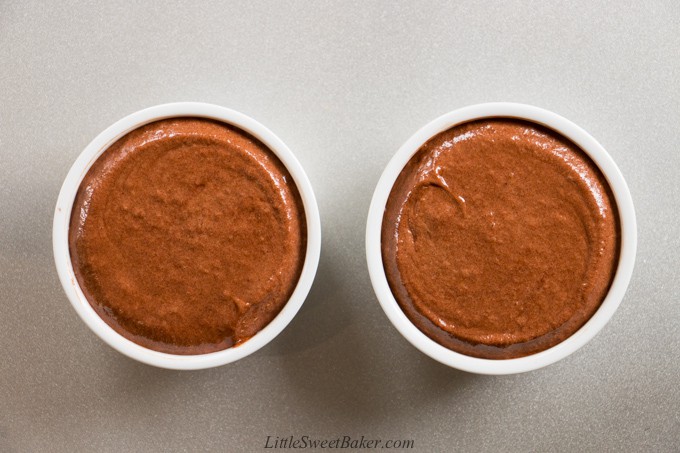
Step 8 Bake The Souffles – Bake at 400F for 10-12 minutes on the lowest rack. I used 4oz baking cups which took exactly 10 minutes, but that might vary slightly depending on your oven. A 6oz size baking cup will take about 11-13 minutes, and an 8oz size will take about 13-15 minutes. The souffle will rise during the last few minutes. Mine started to rise at about 8 minutes and finished at 10 minutes. Do not open the oven while your souffle is baking. The cold air rushing in could affect the rise. Just turn on the oven light and look through the glass to check on them.
Troubleshooting:
Why did my chocolate seize or become grainy when I tried to melt it?
Melting chocolate can be finicky. Any bit of moisture will cause it to seize, which is when melted chocolate becomes stiff all of a sudden. This can happen when you’re using the double-broiler method and a tiny bit of water splashes or any steam gets onto the chocolate. Over-heating can cause chocolate to burn and become grainy. This can happen in the microwave if the power is too high or it’s been heated too long. So just pay attention when you melt your chocolate.
Why did my souffle not rise?
There are many reasons like over-mixing the batter or the oven wasn’t hot enough. But the most common reason would be the egg whites were not beaten to stiff peaks and therefore not strong enough to give the souffle its structure.
Why did my souffle crack?
It could be due to over-beaten egg whites resulting in a dry cracked souffle or most likely due to over baking.
How to make chocolate souffle in advance:
You can make this recipe 24 hours in advance. Just cover your ramekins with saran wrap and refrigerate until ready to bake. Remove the saran wrap, smooth the tops, run your thumb along the edge to make the channel, and bake for 1-2 minutes longer.
How to serve chocolate souffle:
It’s best to serve immediately. That way they are nice and warm and puffed up. The souffle will start to deflate soon after you take them out of the oven. Serve with a dusting of powdered sugar, a dollop of whipped cream, a drizzle of creme anglaise or a scoop vanilla ice cream if desired.
FAQ:
Why does my souffle taste eggy?
Souffles are mostly made of eggs, so there will be a slight eggy taste, but it should not be overpowering if there is enough flavoring in it, like vanilla or chocolate. Make sure to use fresh eggs, good-quality flavorings, and enough flavoring to balance the egg taste.
How do you stop a souffle from deflating?
Souffles will naturally deflate as they cool down because the air bubbles contract as they cool. However, if your souffle immediately deflates as soon as you take it out of the oven then it was most likely due to overbeating your egg whites or overbaking. So do not whip your egg whites past the point of stiff peaks, and remove your souffle from the oven as soon as it stops rising.
Can a souffle be served cold?
Yes, they won’t be as lofty but will still be just as delicious and quite refreshing on a hot summer’s day. I know it’s not traditional, but serving them cold is a great way to make them in advance.
You might also like:
- Three Ingredient Chocolate Mousse
- No-Bake Chocolate Cream Pie
- Easy Chocolate Lava Cakes
- Triple Chocolate Shadow Cake
- Chocolate Chip Brownies
Did you make this recipe? Please kindly leave a comment with your star rating below.
Print
Chocolate Souffle – Easy Foolproof Method
- Prep Time: 20 min
- Cook Time: 10 min
- Total Time: 30 minutes
- Yield: 3
- Category: dessert
- Method: bake
- Cuisine: American
Description
This decadent chocolate souffle is dark and intense in flavor, yet light and silky in texture. Follow my easy step-by-step process to master how to make a chocolate souffle like a French pastry chef.
Ingredients
For the ramekins (4oz):
- 1 tbsp unsalted butter, melted
- 3 tsp granulated sugar
Chocolate base:
- 4 oz semi-sweet chocolate baking squares, chopped
- 1 tbsp unsalted butter
- 1/2 tsp vanilla extract
- pinch of salt
- 2 large egg yolks
Meringue:
- 2 large egg whites, room temperature
- 1/2 tsp cream of tartar (or 1 tsp white vinegar)
- 2 tbsp granulated sugar
Optional:
- powdered sugar for dusting
Instructions
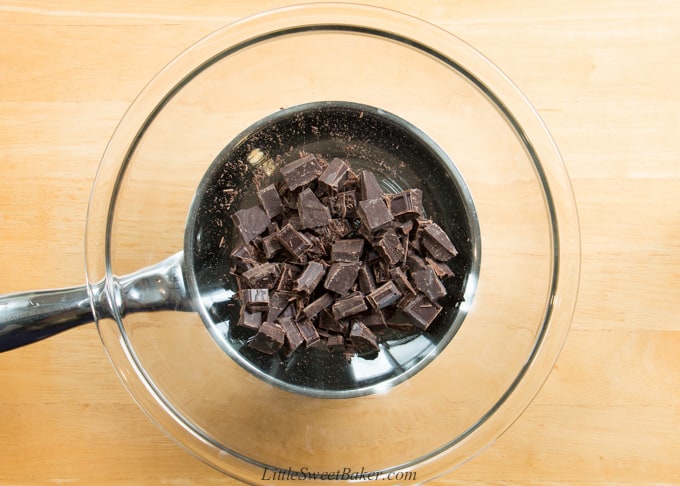
- Melt the chocolate over a double-broiler until completely melted. Remove from heat. Stir in the butter, vanilla and salt. Set aside to cool.
- Preheat the oven to 400F and position a rack on the lowest rung.
- Brush three 4oz ramekins with butter. Sprinkle with sugar to coat and tap out the excess.
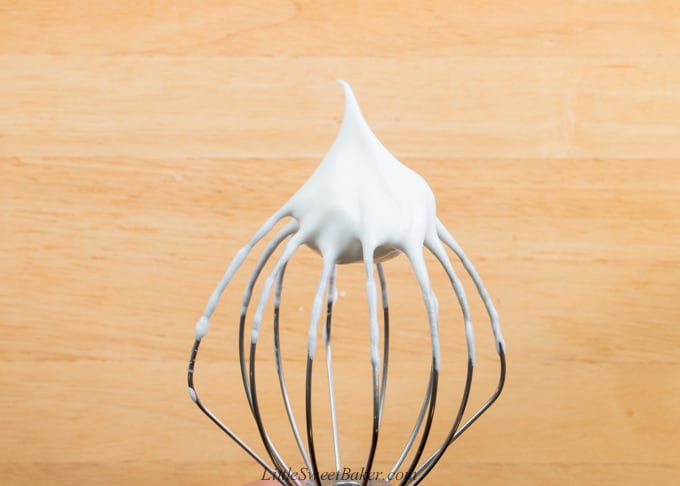
- Beat the egg whites until frothy. Add the cream of tartar and continue beating until opaque. Slowly add in the sugar while the mixer is running. Beat until stiff and glossy. Set aside.
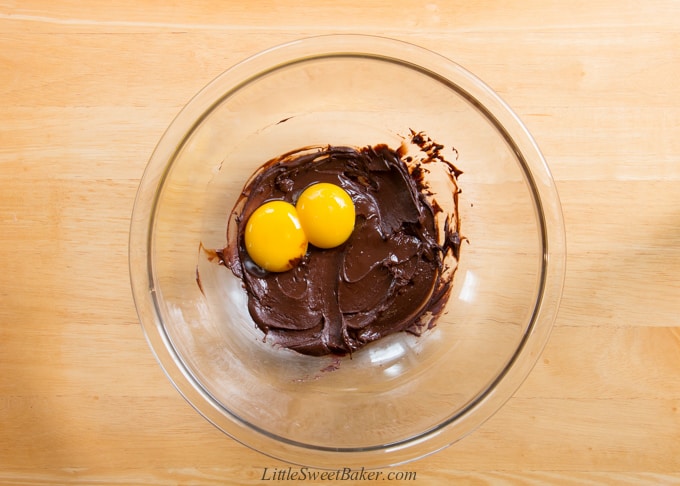
- Stir the egg yolks into the chocolate mixture until smooth. Stir in one third of the meringue to lighten up the mixture.
- Gently fold in the remaining thirds, one at a time, using an under and over motion. Mix JUST until you see no more white streaks.
- Spoon the batter into the prepared ramekins. Fill all the way to the top. Use the flat edge of a knife to smooth the tops. Run your thumb along the rim to create a channel. Wipe the ramekins clean with a dish towel.
- Place the ramekins on a baking sheet. Bake for about 10-12 minutes or until the souffles have risen and the tops are lightly browned.
- Carefully transfer the ramekins using a dish towel onto your serving plates. Using oven mitts might cause you to bang the tops, so using a dish towel is recommended. Dust with powdered sugar if desired and serve immediately.
Notes
How to make chocolate souffle in advance:
You can make this recipe 24 hours in advance. Just cover your ramekins with saran wrap and refrigerate until ready to bake. Remove the saran wrap, smooth the tops, run your thumb along the edge to make the channel, and bake for 1-2 minutes longer.
How to serve chocolate souffle:
It’s best to serve immediately. That way they are nice and warm and puffed up. The souffle will start to deflate soon after you take them out of the oven. Serve with a dusting of powdered sugar, a dollop of whipped cream, a drizzle of creme anglaise, or a scoop of vanilla ice cream if desired.
I learned a lot about making souffles from Entertaining with Beth, which is what this recipe is loosely based on.




great recipe!!! just one question – on the nutrition profile you say “serves 3.” so that means the total carb count for the entire recipe is 37.5 x 3 = 112.5, correct? i’m asking because my cheat is ~20 carbs, so i filled 5 ramekins which should make the carb count 22.5, which is great!!! thanks for having a recipe using cream of tartar as well. i understand its really high in potassium.
Hey Karen, yes you got that right! I hope you enjoy the souffle and happy Friday!
Could I make this in one big ramekin? I only have 10oz ramekins on hand
Yes, you can. Just adjust the baking time accordingly. Enjoy!
Just made this recipe last night. Turned out as it should. Everyone says how HARD it is to make souffle. If you’re even a little experienced they’re not super difficult IF you follow the directions. That said the one thing we all agreed upon was that for our taste semi sweet chocolate wasn’t what we’d prefer to have for our souffle. Will for certain be trying this recipe again as it was a hit.
PROS:
Reasonably easy to put together
Directions were clear
End result was as expected
CON:
Chocolate wasn’t something we fully enjoyed as we found it to be a bit too bitter for our liking
Can I use bittersweet chocolate and should it be sweetened or unsweetened?
You can and to my understanding, bittersweet chocolate is sweetened, but just much less sugar than semi-sweet chocolate. I would personally add another 1-2 tablespoons of sugar, if using bittersweet chocolate, to balance the flavor, or else it might be a little bitter, but that’s up to you.
So we can’t get any moisture in the chocolate or else it’ll seize, but how do we melt the butter in it? Every time I try, it always hardens. I melt the chocolate fine, but once I add butter and mix, it happens.
Hi Justina,
To clarify, by moisture, I mean water. My apologies this is not clear in the post. Are you using chocolate chips or baking chocolate squares? Baking chocolate is what the recipe calls. Chocolate chips have stabilizers in them which can make them hard to melt.
I read what ingredients I needed- yay has them all! Started from the top of the recipe and melted my chocolate but no where does it state how many eggs (I guessed by the picture to use two) and when do you use the white vinager?
I ended up guessing and to no surprise it came out awful!
Hi Johleen,
I’m sorry you had to guess, but all the ingredients and instructions are clearly written in the recipe card. You just have to scroll down a little further.
hey i love this recipe it turned out so well. i want to make it for more people. how do you recommend i alter the recipe to make it for 4 people ? and more ?
Thank you
Hi Marion,
Thank you for your kind words and I’m glad you love the recipe. You can simply double the recipe for more servings and follow the instructions as-is. Enjoy and have a great day!
so you don’t need flour ???
Nope, this is a flourless recipe. Enjoy and have a great say!