Oreo Icebox Cake
Made with just 4 ingredients, this classic icebox cake recipe combines luscious whipped cream and softened Oreo cookies for an unforgettable cookies and cream treat.
What is an icebox cake?
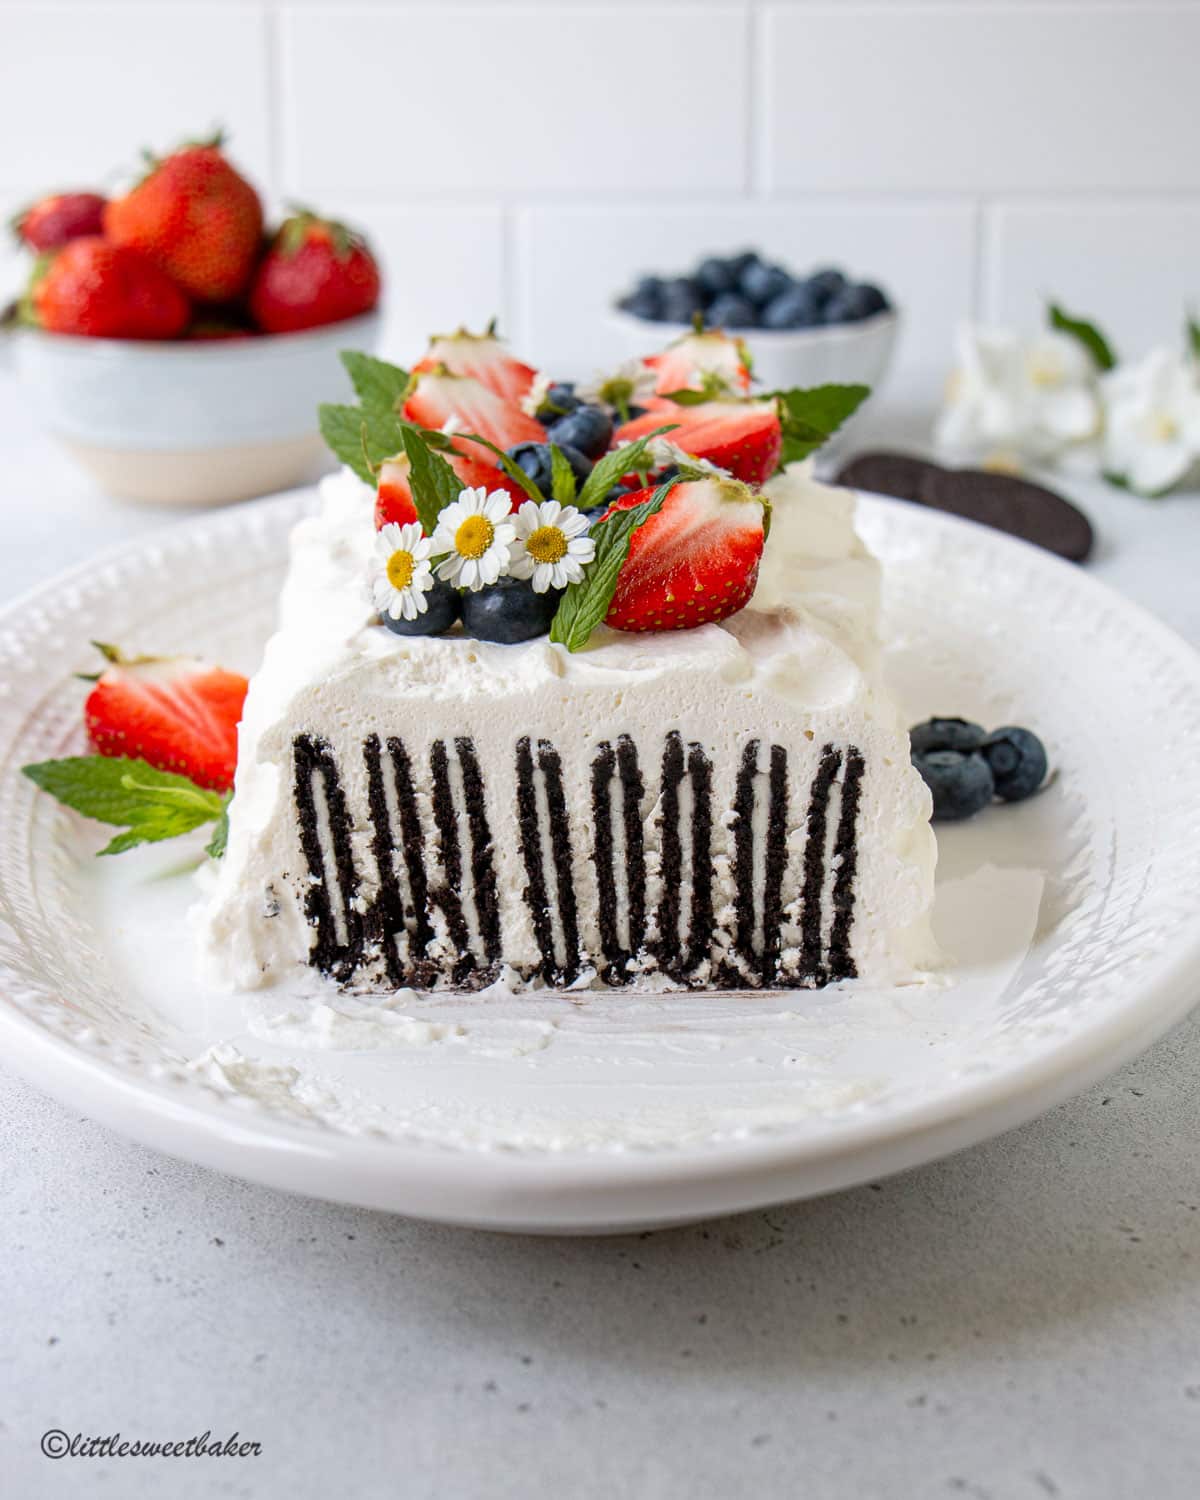
An icebox cake is a type of dessert that is made by layering cookies or crackers with whipped cream or pudding. The cake is then refrigerated for several hours or overnight. As it chills, the cookies absorb some of the moisture from the cream and soften into a cake-like consistency. The flavors also meld together, resulting in a delicious and creamy dessert. The name “icebox cake” originates from the fact that the dessert is traditionally chilled in the refrigerator, often referred to as an “icebox” in older times.
Note: Traditional icebox cake is made with chocolate wafer cookies, but since Nabisco has discontinued this product, this recipe is made with Oreo Thins as a substitute.
Why you’ll love this recipe:
- Super easy to make and no-bake! – With just 4 ingredients, all you have to do is make the whipped cream and spread it in between rows of Oreo cookies, cover it all up with more whipped cream, and let it set in the fridge for a couple of hours or overnight.
- Tastes amazing – The whipped cream is light and airy while the Oreo cookies are chocolatey and sweet. It all melds together into this soft and creamy, melt-in-your-mouth, heavenly dessert. Using Oreo cookies instead of chocolate wafers adds another layer of flavor and just the right amount of sweetness from the creamy Oreo filling, so I actually prefer it and find that it makes the icebox cake so much better.
- Make-Ahead Convenience – Icebox cakes are an excellent choice for those who like to plan ahead or need a dessert that can be made in advance. Since they require refrigeration rather than baking, you can assemble the cake ahead of time and let it chill overnight or for a few hours until ready to serve.
Ingredients you’ll need:
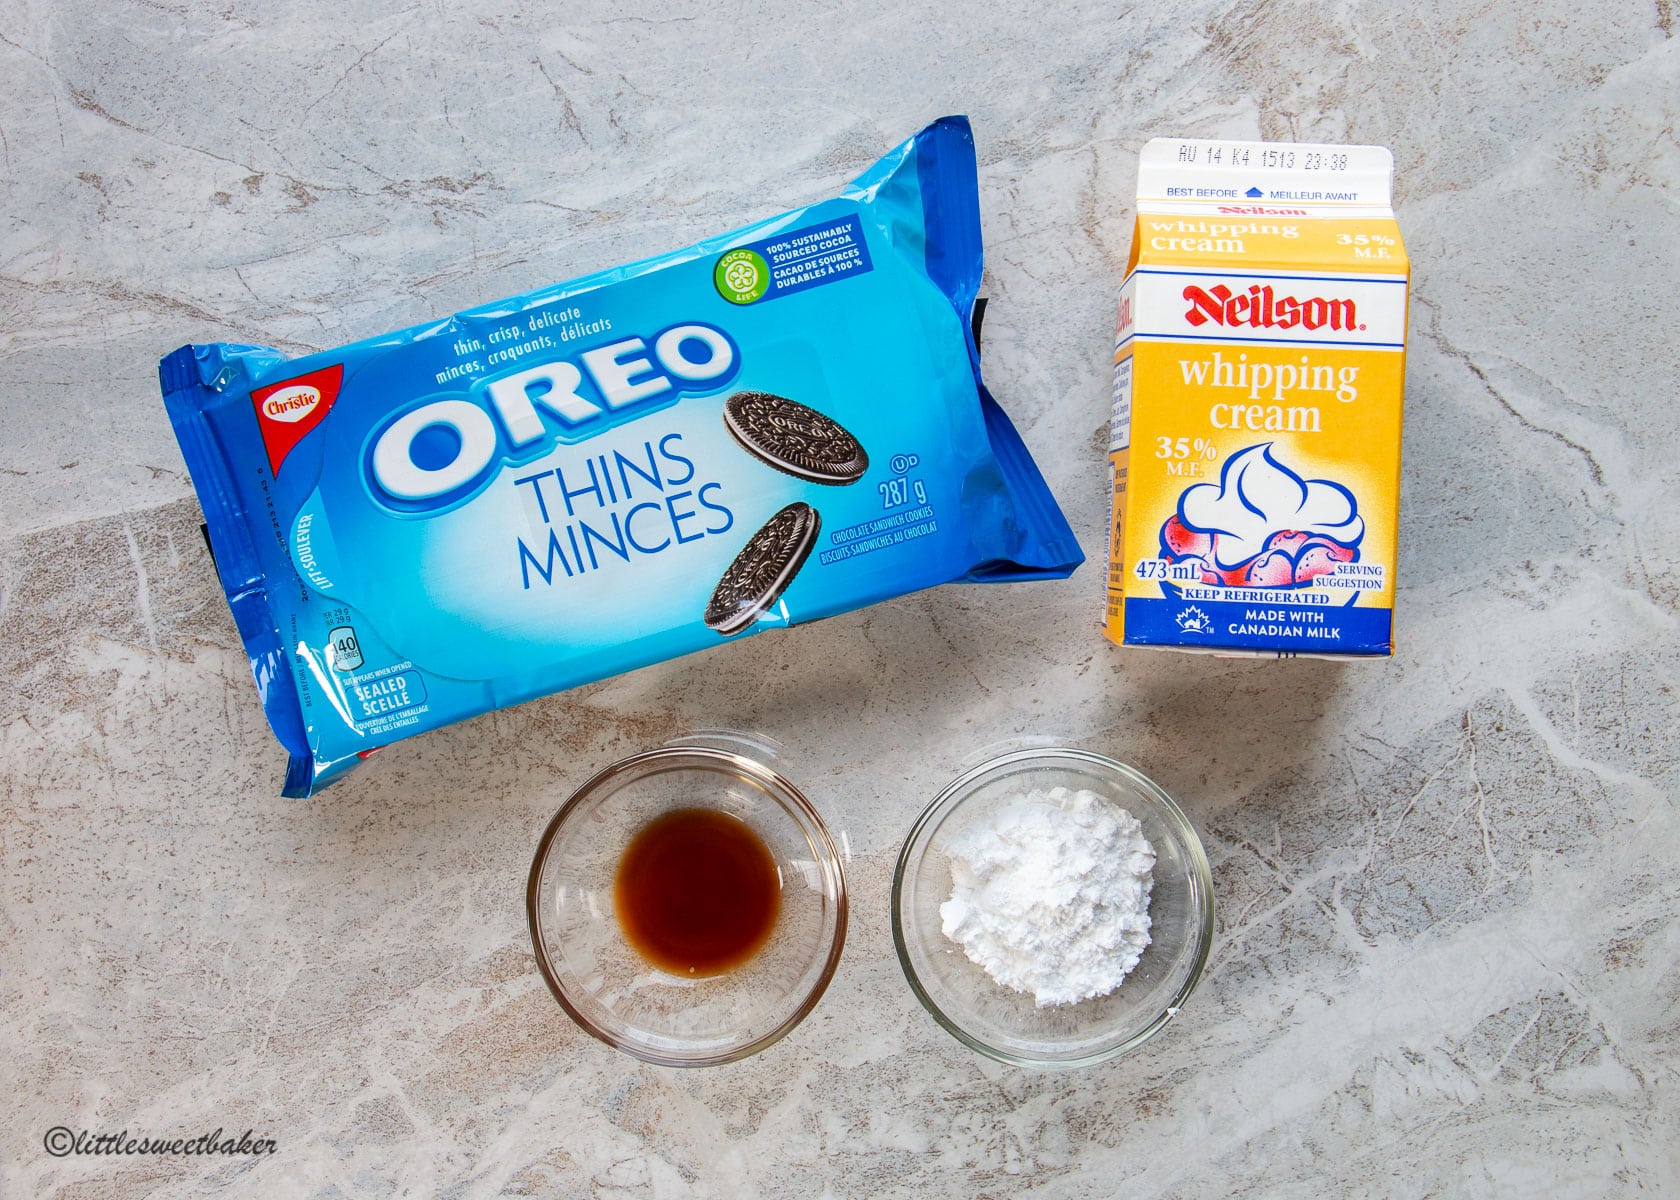
- Oreo cookies – preferably Oreo Thins
- whipping or heavy cream
- vanilla extract
- powdered sugar
How to make icebox cake:
(the ingredient amounts are listed in the printable recipe card further below)
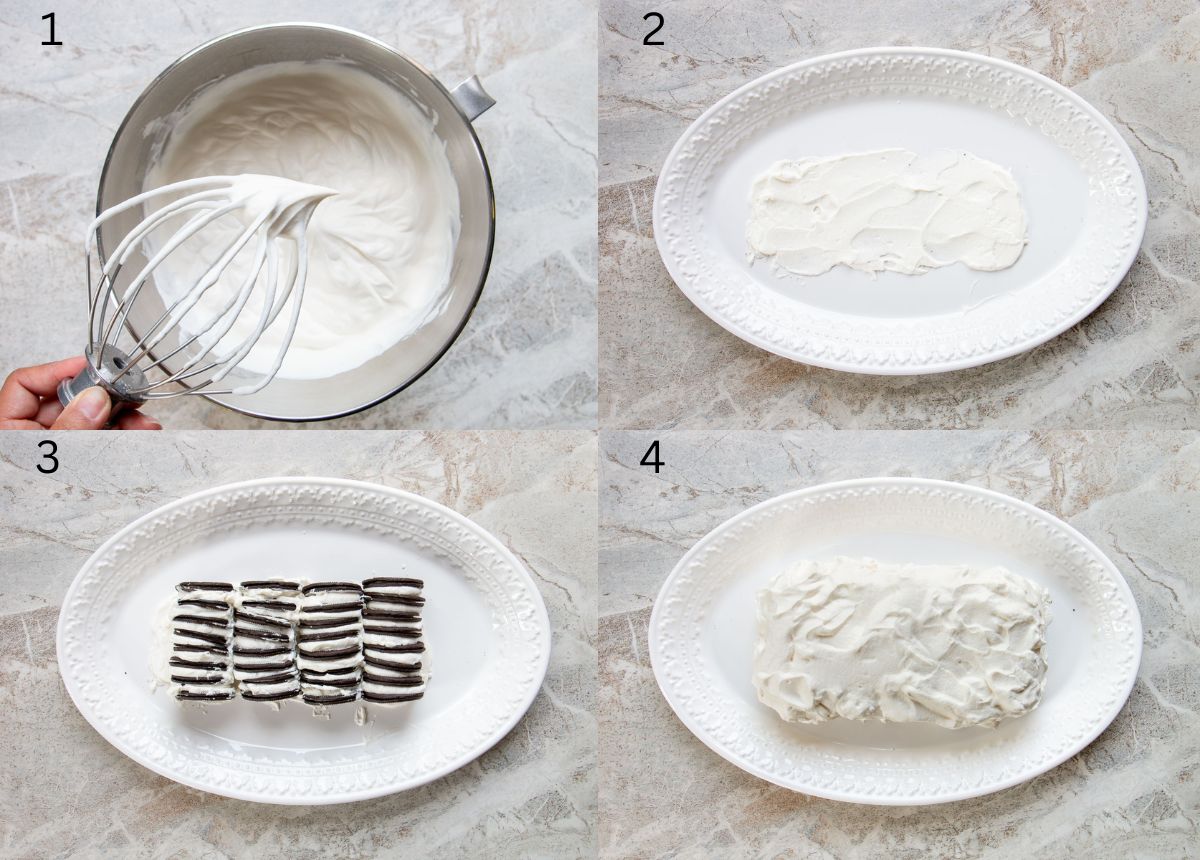
- Beat the whipping cream, vanilla, and powdered sugar until stiff peaks form.
- Spread a layer of whipped cream onto your serving plate.
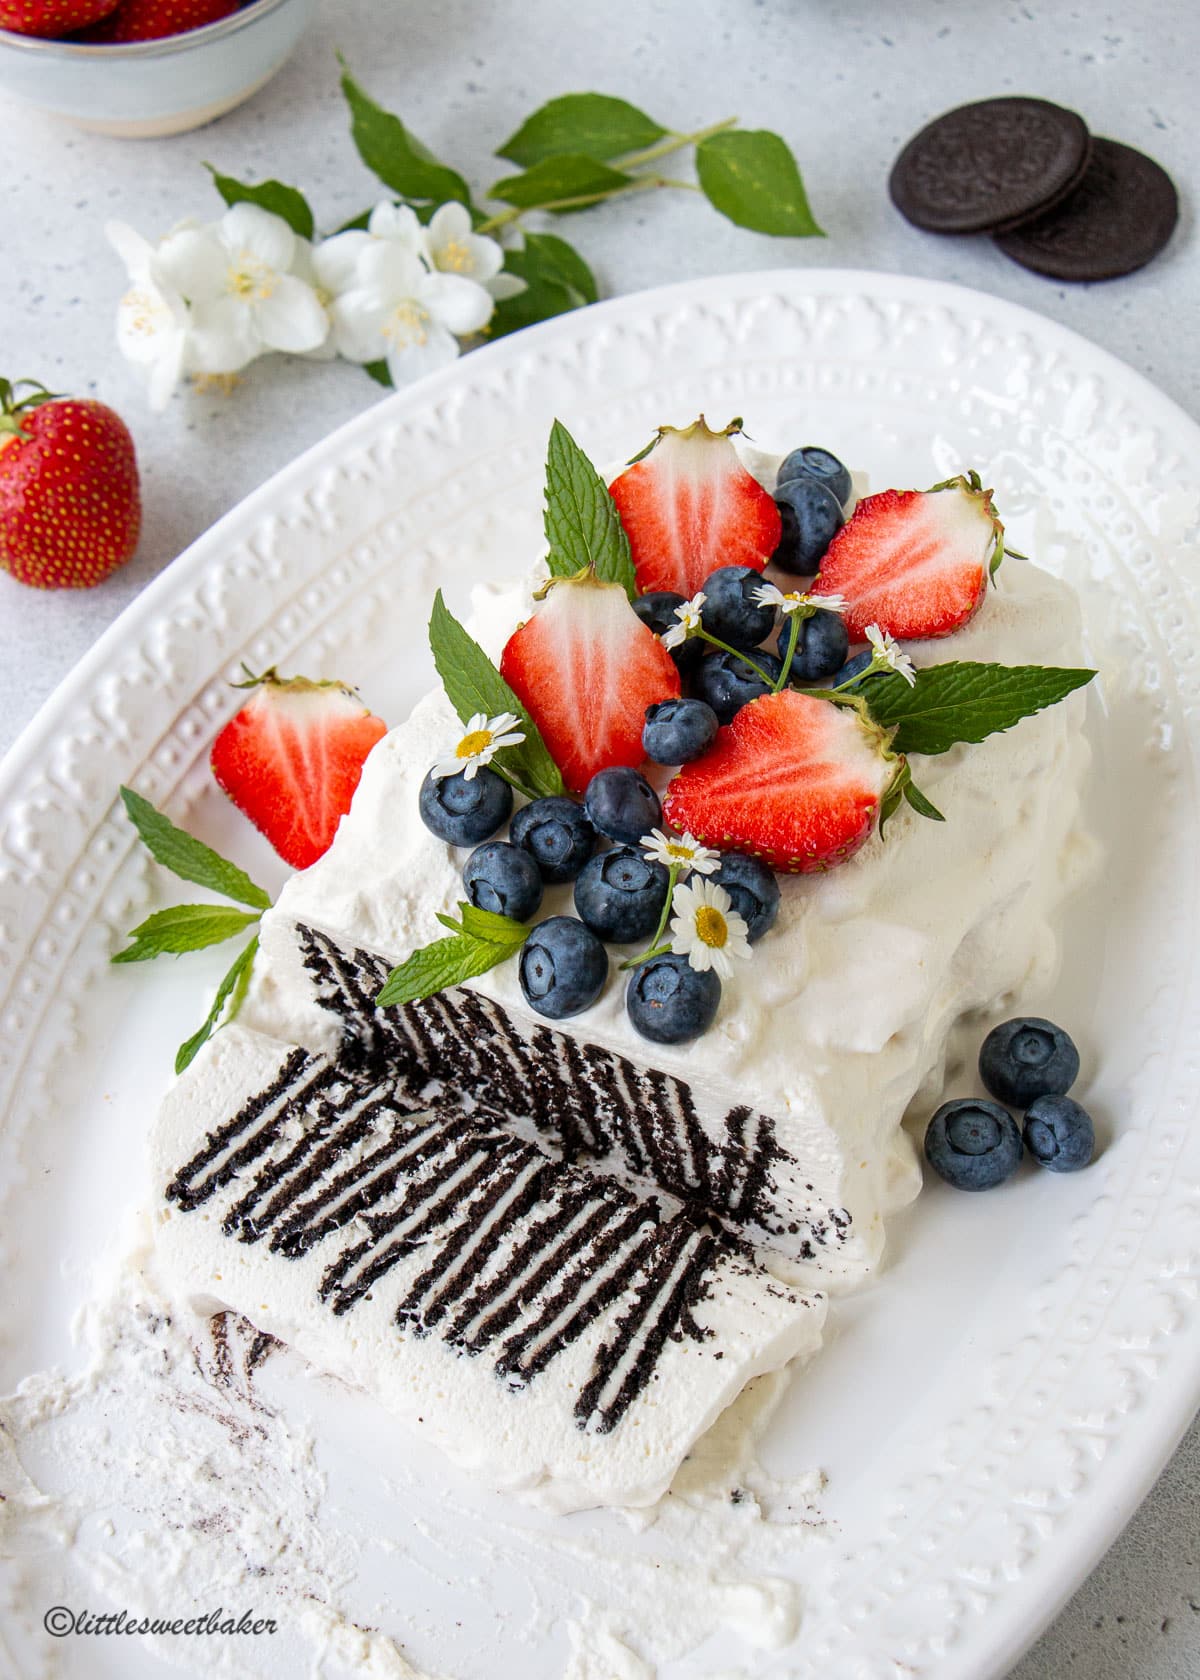
- Divide the cookies into 4 stacks of 8 cookies each. Spread about 2 teaspoons of whipped cream in between each cookie. Lay each stack on its side with all 4 rows close together. See image #3.
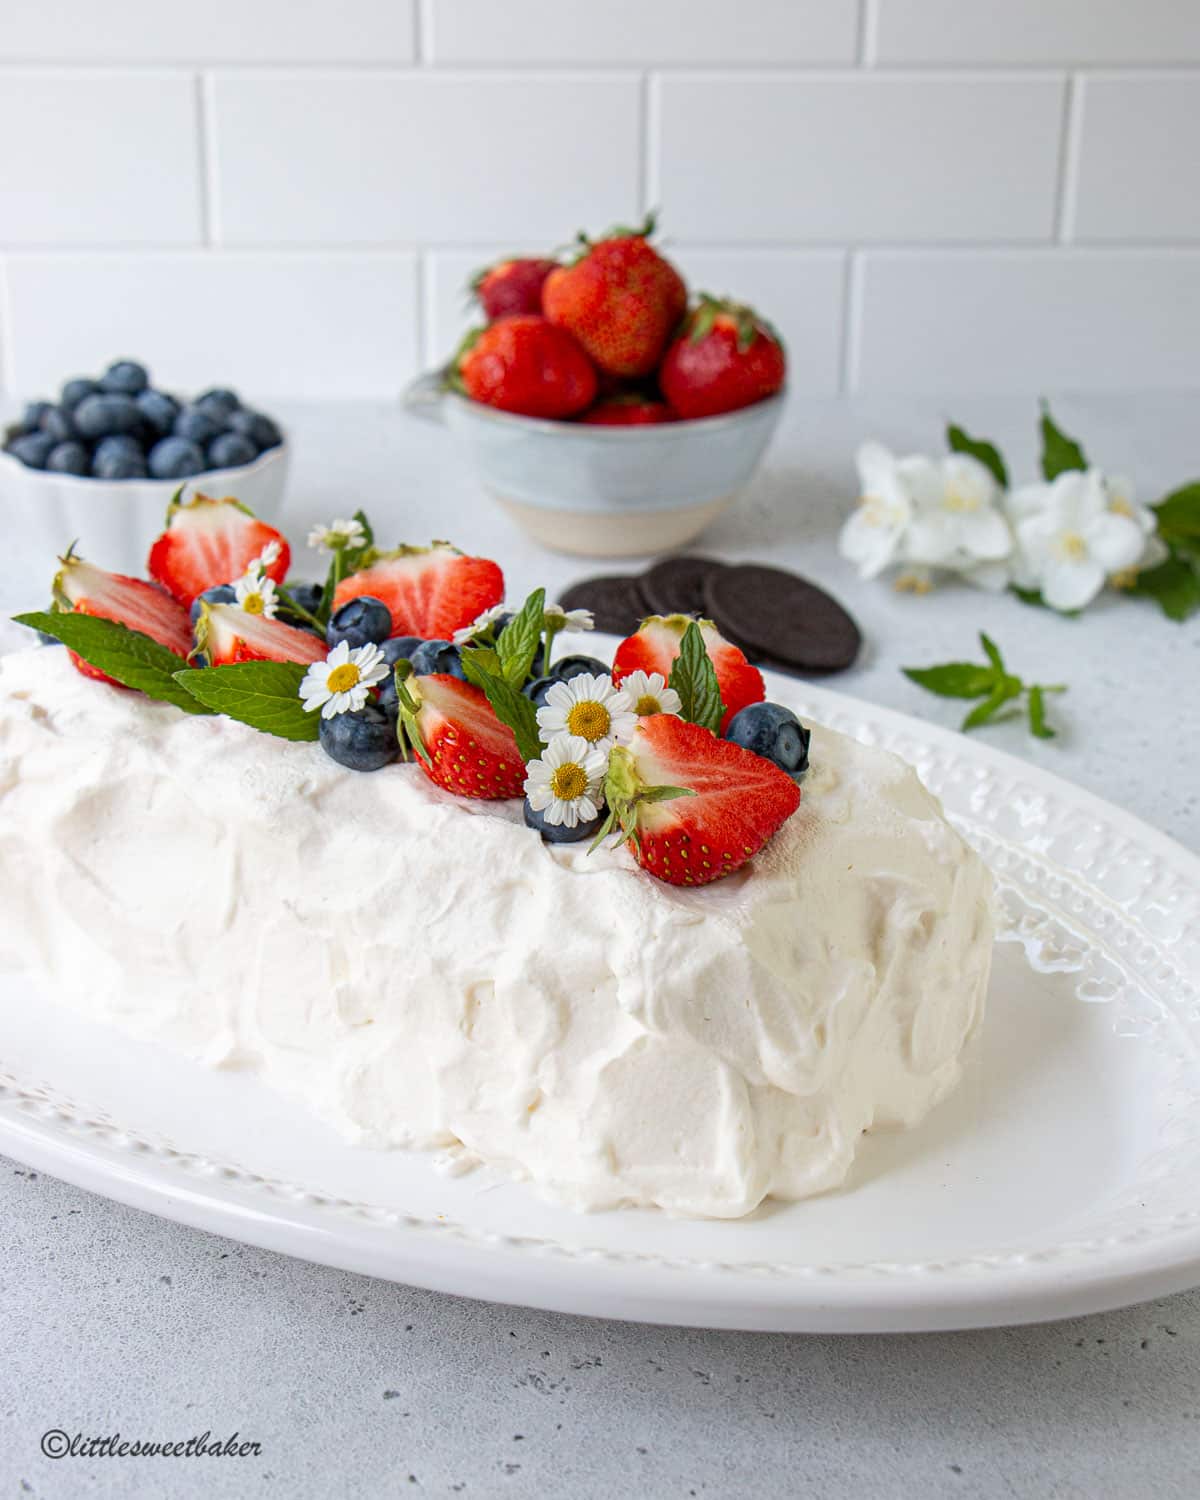
- Cover the whole thing with the remaining whipped cream. Loosely cover with plastic wrap and let it chill to set in the fridge for a minimum of 4 hours or overnight.
How to serve:
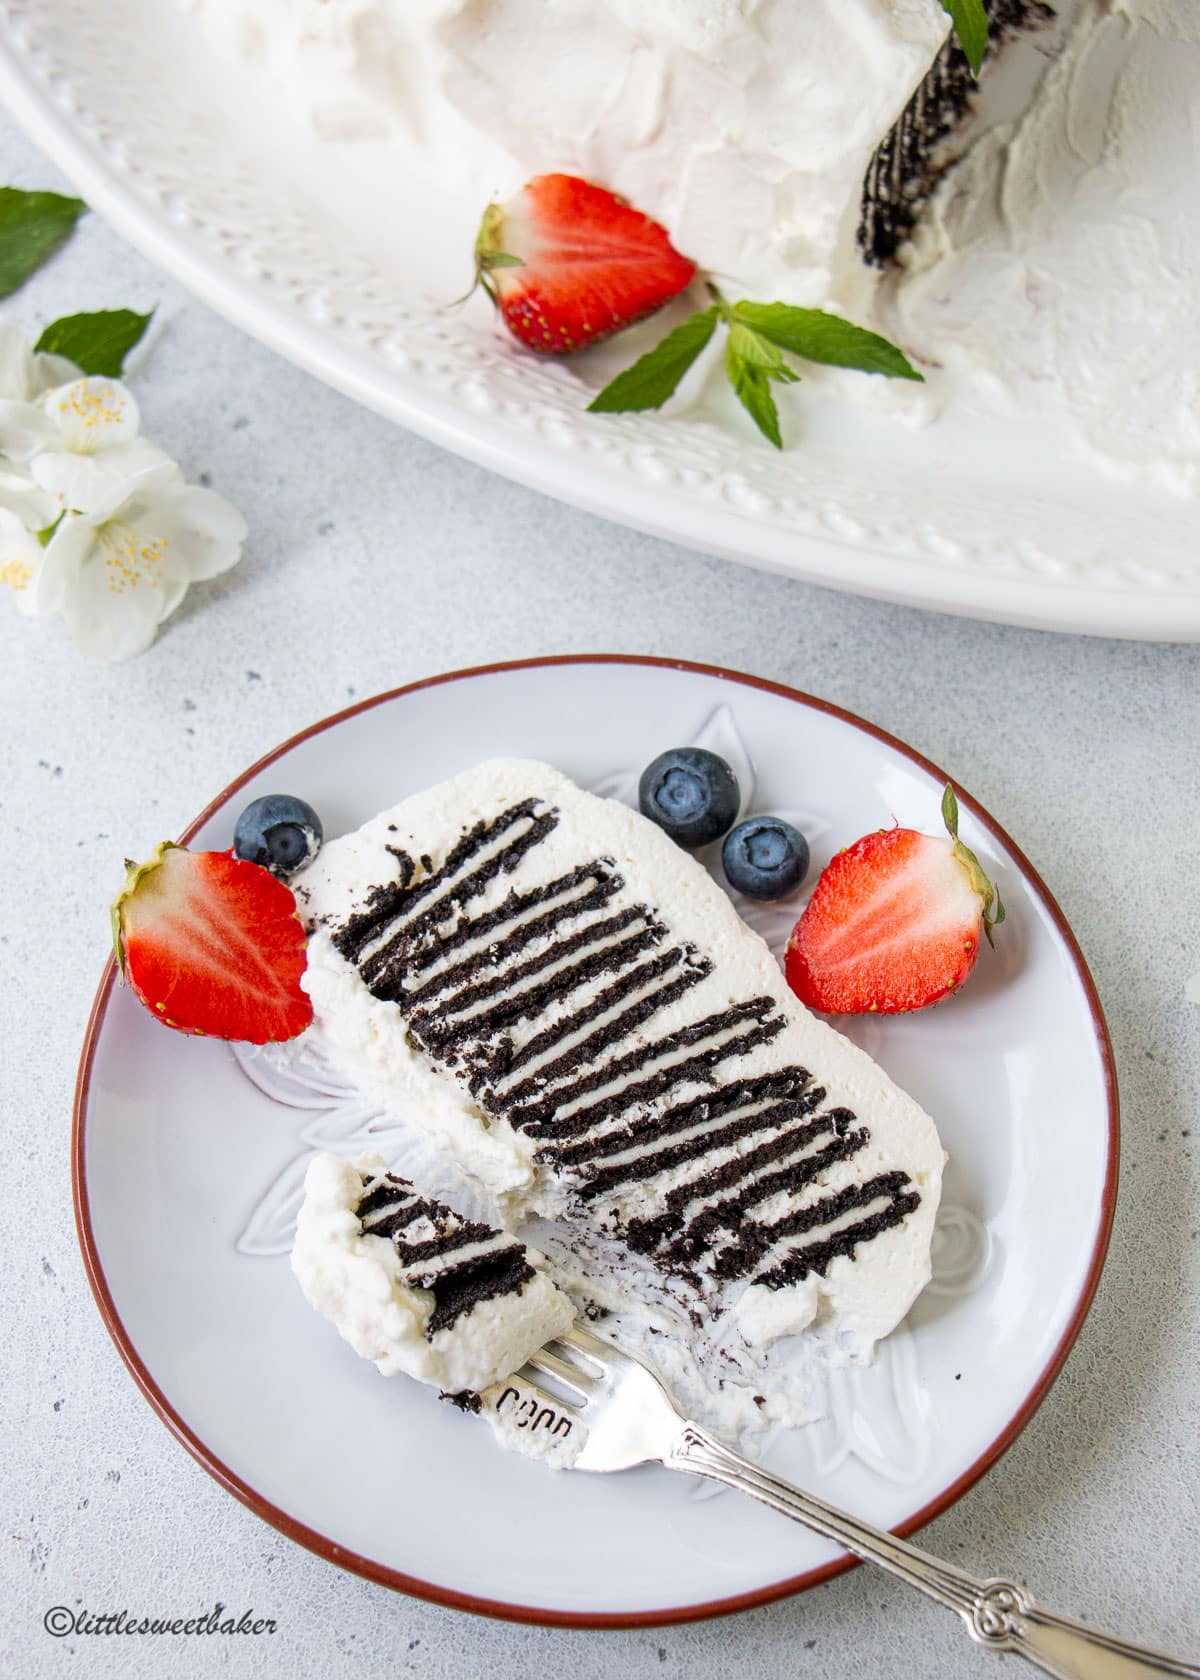
Slice and serve as is or top with a dusting of cocoa powder, chocolate curls or shavings, or fresh fruit.
Substitutions & Variations:
- Cookies – I used Oreo Thins, but you can use regular or even double-stuffed Oreos if you like it really sweet. Golden Oreos work too, if you prefer vanilla. You can also use honey graham crackers, chocolate graham crackers, or chocolate chip cookies as a substitute.
- Whipped cream – add 1/4 cup unsweetened cocoa powder and an extra tablespoon of powdered sugar to the whipped cream for a double-chocolate version.
FAQ:
Can you freeze icebox cake?
While it is possible to freeze an icebox cake, I don’t recommend it. The creamy filling and cookies can become soggy upon thawing, resulting in a less desirable texture. It is generally recommended to enjoy icebox cakes fresh or refrigerated rather than freezing them.
How long does icebox cake last?
Up to 3 days tightly covered and stored in the fridge. After that the whipped cream will start to break down.
You might also like:
Did you make this recipe? Please kindly leave a comment with your star rating below.
Print
Oreo Icebox Cake
- Prep Time: 20 min
- Chill Time: 4 hrs
- Total Time: 0 hours
- Yield: 8-10
- Category: dessert
- Method: no-bake
- Cuisine: American
Description
Made with just 4 ingredients, this classic icebox cake recipe combines luscious whipped cream and softened Oreo cookies for an unforgettable cookies and cream treat.
Ingredients
- 1 pint (473ml or 2 cups) whipping or heavy cream
- 2 tbsp powdered sugar
- 1 tsp vanilla extract
- 1 pkg Oreo Thins sandwich cookies
Optional toppings
- chocolate shavings or curls
- cocoa powder
- berries or sliced fruit
Instructions
- Beat the whipping cream, vanilla, and powdered sugar until stiff peaks form.
- Spread a layer of whipped cream onto your serving plate.
- Divide the cookies into 4 stacks of 8 cookies each. Spread about 2 teaspoons of whipped cream in between each cookie. Lay each stack on its side with all 4 rows close together. See image below.
- Cover the whole thing with the remaining whipped cream. Loosely cover with plastic wrap and let it chill to set in the fridge for a minimum of 4 hours or overnight.
Notes
Leftovers can be covered and stored in the fridge for up to 3 days.
Recipe adapted from Baked the Blog




Just ate this quick and delicious dessert!!! Made it yesterday so cookies were soft.my whole family loved even more with the thin Oreo cookies than the chocolate wafers.Great idea and really good! Thanks
Thanks! I prefer the Oreo thins too. I find the Oreo cream filling adds more flavor than just whipped cream and chocolate cookies.
I love this idea!!! So easy to do, and of course the kids go crazy over it!! The perfect summer dessert!