Coconut Cream Pie
Escape to the tropics with this heavenly coconut cream pie made with coconut milk and shredded coconut for a flavorful and authentic coconut taste.
My husband thought it was weird that I was making a coconut cream pie this time of year. But hey, who says it’s only a summer thing? It’s actually most popular during the month of November. Maybe because people like me want to dream of the tropics before Old Man Winter arrives or maybe it’s a common family favorite around the American Thanksgiving table. I mean what’s not to love about flaky pie crust filled with creamy coconut custard, topped with fluffy whipped cream and toasted coconut?
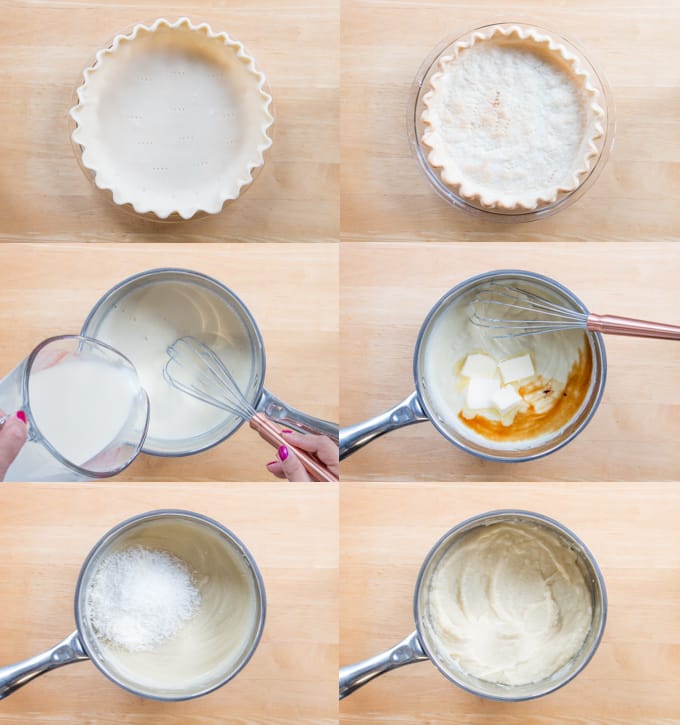
This recipe starts with a simple four-ingredient single pie crust. Pre-bake it in the oven for about 15 minutes and let cool while preparing the filling. The filling is simply sugar and cornstarch cooked with coconut milk, a little bit of half and half cream, and eggs. Cook the custard until thickened and stir in some butter, vanilla and shredded coconut.
Let cool for 30 minutes and spoon into your baked pie crust. Refrigerate for two hours or until ready to serve, and top with some sweetened whipped cream and more coconut. The key to this recipe is the coconut milk, the full-fat kind that comes in a can. It’s what gives this pie its real coconut flavor. Without it it’s just a custard pie with shredded coconut.
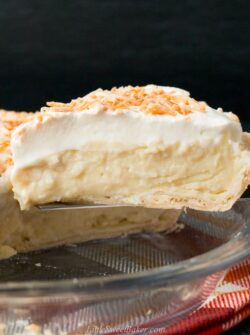
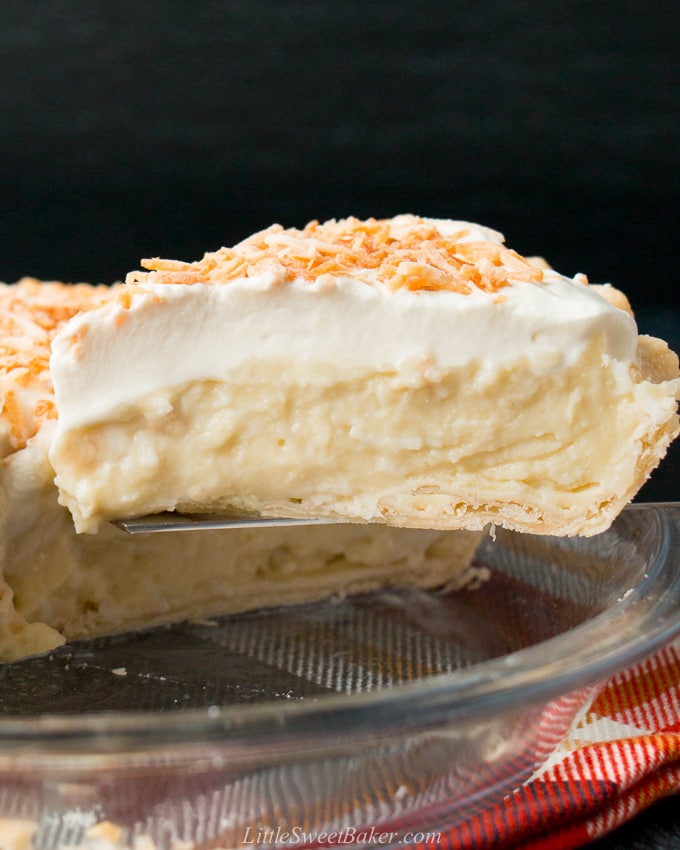
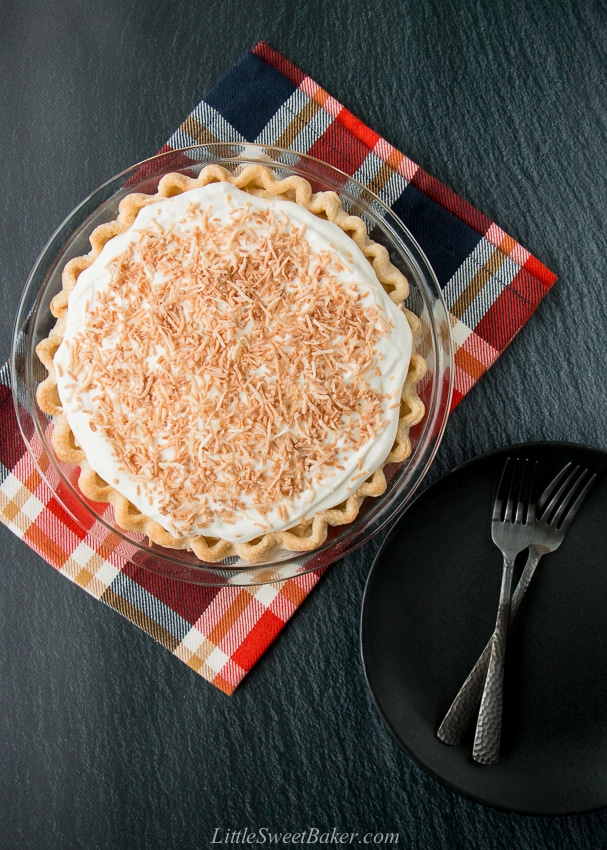
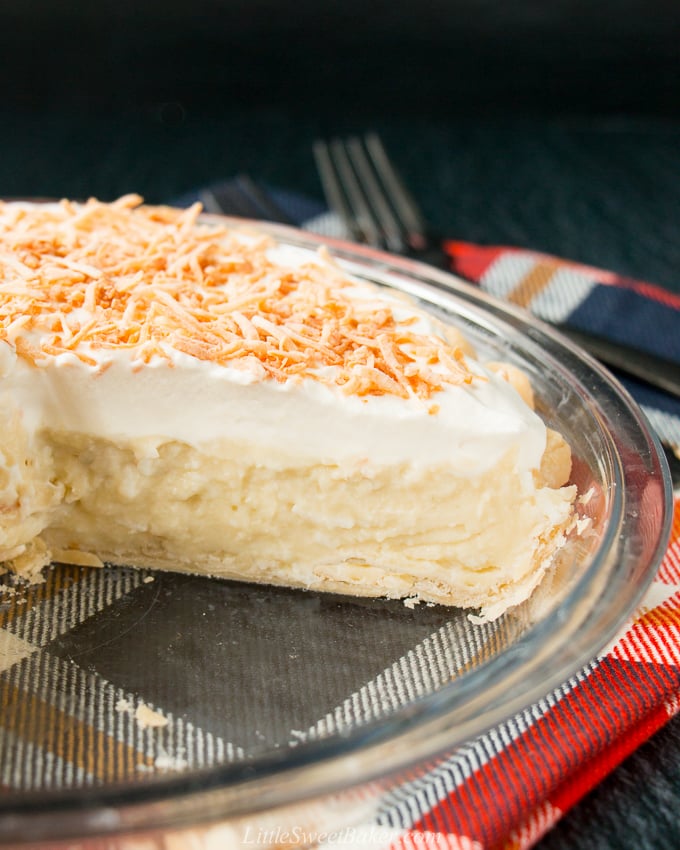
The pie crust is tender and flaky. The custard filling is thick, rich and bursting with coconut flavor. The whipped cream topping adds a lightness to contrast the custard while the toasted coconut adds a nutty taste to this tropical treat. All in all, this pie is absolutely creamy-dreamy good!
Coconut Cream Pie
- Prep Time: 30 min
- Cook Time: 30 min
- Total Time: 1 hour
- Yield: 8-10
- Category: dessert
- Method: bake
- Cuisine: American
Description
Escape to the tropics with this heavenly coconut cream pie made with coconut milk and shredded coconut for a flavorful and authentic coconut taste.
Ingredients
CRUST
- 2 cups (250g) all-purpose flour, twice sifted
- ½ tsp (2.5g) salt
- ½ cup (125ml) vegetable oil
- ¼ cup (62ml) milk
Filling
- 1/2 cup (100g) granulated sugar
- 1/4 cup (32g) cornstarch
- 1 can (400ml/13.5oz) unsweetened coconut milk
- 1/4 cup (62ml) half and half cream
- 4 large eggs
- 3 tablespoons (45g) unsalted butter, cut into tablespoon sized pieces
- 1 tsp vanilla extract
- 1 cup (100g) sweetened shredded coconut
Topping
- 1 cup (240 ml) heavy whipping cream
- 2 tbsp (25g) granulated sugar
- 1 tsp vanilla extract
- 1/4 cup (25g) sweetened shredded coconut
Instructions
- Preheat oven to 425F and set aside a 9″ pie plate.
- Sift the flour twice, then whisk in the salt and create a well in the center.
- Pour in the oil, then milk and stir everything together. If the dough seems too dry, add 1-2 tbsp of milk.
- Once the dough starts to form, finish working it by gently kneading it on a sheet of wax paper.
- Roll out between 2 sheets of wax paper. Remove the top sheet of wax paper. Use the bottom sheet to lift and flip the dough onto the pie plate. Fit the crust onto the plate and finish the edges as desired. Poke the bottom of the crust in several places with the tines of a fork.
- Bake for 15-20 min or until golden brown. Let cool completely.
- In a large saucepan, whisk together the sugar and cornstarch. Set aside.
- In a separate large mixing bowl, whisk together the coconut milk, half and half, and eggs.
- Slowly add the milk mixture to the saucepan with the sugar and cornstarch mixture while whisking.
- Over medium heat, bring to a boil stirring constantly. Allow to boil for one minute, the custard should be pretty thick at this point. Remove from the heat, stir in the butter and vanilla extract until all the butter has dissolved into the mixture. Stir in the coconut.
- Cover with plastic wrap, placing the plastic wrap directly on the surface of the custard, and allow to stand in the saucepan for 30 minutes.
- In the meantime, toast the 1/4 cup of coconut in a small frying pan over medium heat until lightly browned. Set aside to cool completely.
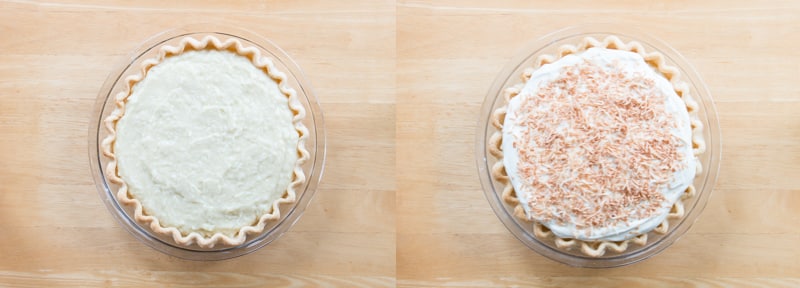
- Remove the plastic wrap, stir the filling, and spoon it into the prepared pie crust. Cover tightly with plastic wrap and refrigerate the pie for 2 hours or until ready to serve.
- When ready to serve, beat the whipping cream, sugar and vanilla until medium peaks. Spread over the custard filling and top with toasted coconut. Slice and serve.
Notes
Leftover pie can be stored in the fridge covered tightly in plastic wrap for up to 2-3 days.
Coconut custard filling adapted from Live Well Bake Often.
I’ll be sharing this at Fiesta Friday #249 hosted by Angie, and co-hosted Diann @ Of Goats and Greens and Jenny @ Apply To Face Blog.




Is that a can of sweetened coconut milk, and how many ounces?
good question, unsweetened actually, and 400ml is 13.5oz. I hope you enjoy the pie!
Hi. I’ve made different cream pies before but never coconut, and am planning to try this. I’ve always made my cream pies with either a sauce (generally chocolate ganache or caramel) on top or leave it plain. When I leave it plain on top, I put a dollop of whipped cream on every slice. I’ve never topped my cream pies with whipped cream because it’s unstable and I’m afraid it would soften and get liquid-like unless the whole pie is consumed right away. Is this not your experience with this recipe since you said the pie can last up to 2-3 days — and I assume with the whipped topping still intact?
The whipped cream does melt a bit, but it will keep until day 3. If you are concerned about storage, then only top the individual slices when served. I hope that helps and I hope you enjoy the pie!
This looks so tasty! Can’t wait to try it. Can this be frozen and then thawed and served?
Hi Sarah,
Thank you. This pie will last 3-4 days in the fridge. As for freezing, I don’t recommend it because when the custard thaws it will make the crust soggy. If you must freeze it, I recommend freezing the baked crust and cooked filling separately. Thaw overnight and assemble when ready to serve. I hope that helps!
I have yet another confession to make! I have never had a Coconut Cream Pie! But yours looks so incredibly tempting! So creamy but light. I’m off to pin it right now. Thankyou for bringing it to #FiestaFriday
You’re very welcome, and thank you for co-hosting!
I haven’t had coconut cream pie since I was a child! I have kind of forgotten all about it – until I saw this! It’s just lovely!
Mollie
Thanks Mollie! Was it your grandma that used to make it for you?
I’ve never made a crust with oil before. How does it differ from all butter crusts?
When I make coconut pie, the custard is never firm enough. I do make sure to stir until thickened, and I am using full fat coconut milk, similar amount of eggs and cornstarch. I also make sure it’s chilled overnight. Any ideas?
Hi Ann,
I find this crust crispier, and has a light smokey flavor in comparison to an all-butter pie crust. This coconut custard is definitely firm enough to easily slice as you can see in the pictures. I cook the custard until it’s thick like a pudding consistency. Once you stir in the coconut and let it stand for 30 minutes, it’s even thicker, almost like mash potatoes. Perhaps cook it on the stovetop for a few minutes longer?
I’ve never made coconut cream pie with coconut milk before and you are right. The coconut milk makes it so much better. Thank you for my new go-to coconut cream pie recipe!
You’re very welcome, Anna! Thank you for your kind words. Enjoy and have a great day!
Hi Lily! xoxo
This is my 86 year old papa’s favorite dessert of all time, and his birthday is next Wednesday. I’m going to make your recipe for him!! I cannot wait to try this…it looks so delicious. He will be tickled!! xoxo
Love, Prudy
Aww, thank you Prudy! I hope your papa enjoys this coconut cream pie, and wish him a big happy birthday for me. Btw I made your creamy corn casserole and it was amazing! I cut the recipe in half for an 8×8 pan. I’m not going to lie, I had it for breakfast as well:)